By Kirsty Gasston
22nd July 2014
Posted in SEO, Social Media
 Google+ (or Google Plus) is Google’s social media channel – their equivalent of Facebook or Twitter. Setting up your Google+ profile correctly and actively using Google+ as a social network using a Google+ company page can be a great help to your search engine optimisation. Google Authorship is how Google associates authors with articles that they write across the web. Ever seen listings in your search results on Google with a thumbnail of the author and their name? This is generated from the Google Authorship data, which relates to your personal Google+ profile. Google have, however, recently announced their intention to stop displaying the images in their listings – it is still to be seen what effect this has on rankings.
So how do you setup your Google+ profile and Google Authorship for yourself and your brand/company? In this article, I will explain how to set up your own personal Google Plus account (which you need for both Authorship and creation of a Business Google+ Page). Next time I’ll explain how to create your Business Google Plus Page, setup your Google Publisher link and provide management access to other team members.
Setting up a personal Google Plus Profile
Setting up a Google+ profile couldn’t be easier – as soon as you create a Google account, Google will automatically set up a personal Google+ profile for you. Just visit plus.google.com and sign in to your existing Google account, or setup a new account.
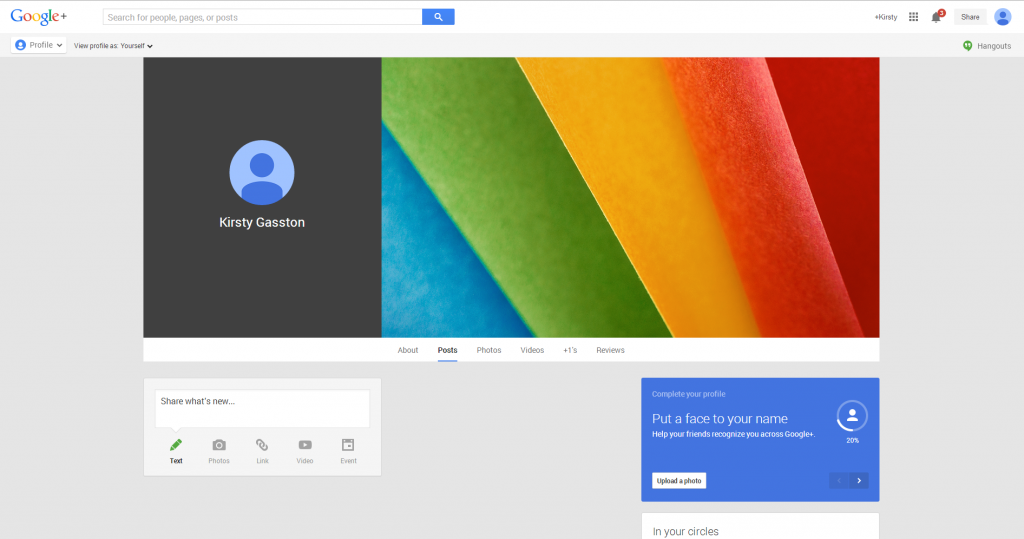
Your profile can be edited in many ways to include a profile picture, cover photo, contact information and about information.
The guidance from Google on the sizes for your profile picture and cover photo are as follows:
Profile picture = 250 x 250px
Cover photo minimum size = 480 x 270px
Cover photo maximum size = 2120 x 1192px
It’s important to remember, however, that Google also makes the profile picture circular, and that the sides of your cover photo are often cropped off.
 It’s also important to note that at smaller screen sizes, the format of the page changes to bring the profile picture and textual information to the bottom of the page. For this reason, many users choose to create their profile picture as a png with a transparent background, rather than a jpeg, so that the profile picture appears over the cover photo with more of the cover photo visible.
The important details for Google Authorship
To get everything set up for your Google Authorship data, there are a few important elements that it’s important to complete when you’re setting up your Google+ profile.
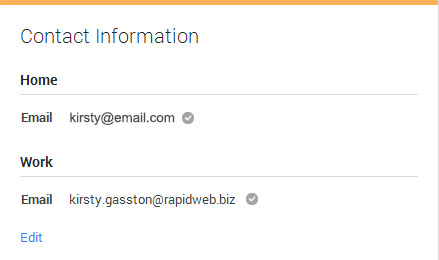 Firstly, wherever possible, you need to enter your email address at the company (the same domain as the blog or website on which you will be posting articles) under ‘work email’ in the contact information. So you can see that for my own Google Plus account, I have added my rapidweb.biz email address as my work email.
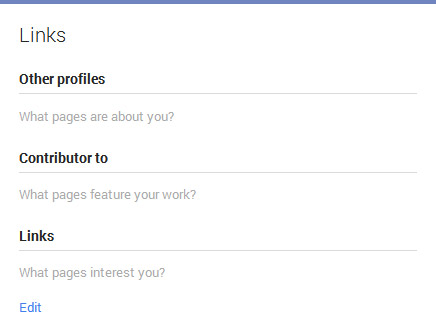 Second, by editing the Links panel within your profile setup, you need to complete the ‘Contributor to’ section with details of the blog(s) and website(s) that you are or will be writing articles for.
Remember the thumbnail of author’s that we see in the Google search listings? This comes from the profile picture that you set up within your Google+ profile, and must be a recognisable headshot – so make sure you use a clear and professional image. Of course, as mentioned above, Google have said that they’re not going to display these anymore, but it can’t hurt to continue to include it.
And finally, Google Authorship only works correctly when your Google+ profile is set to be visible in search. Check that this is the case by visiting https://plus.google.com/settings and, under the Profile section, ensuring that the option ‘Help others discover my profile in search results’ is selected.
Setting up the author relationship on your blog or website
To setup the author relationship within your blog or website, you need to create a link to your Google+ profile from the webpage using rel=”author”. So you need to include something like:
<a href=”[profile_url]?rel=author”>Google</a>
Obviously, you will need to replace [profile_url] with the url to your own Google+ profile, so you should end up with something like:
<a href=”https://plus.google.com/112363477799386894503?rel=author”>Google</a>
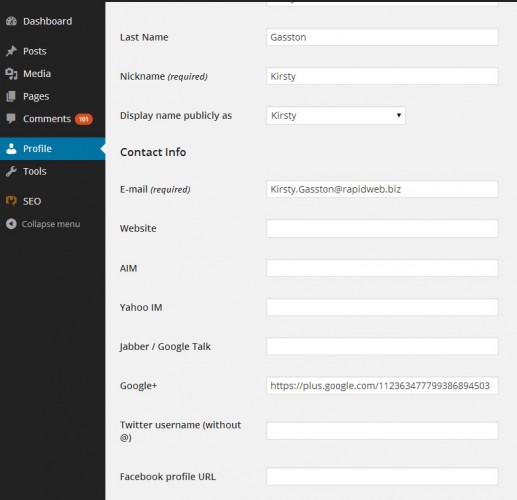
If you’re using WordPress for your blog, your author relationship setup is easy as you simply need to add a link to your Google+ profile within your WordPress user profile in the administration dashboard.
Checking your Google Authorship setup
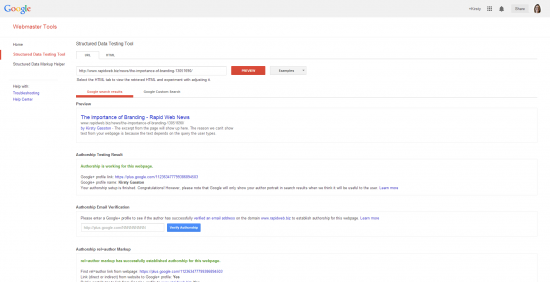
You can easily check if your authorship association is correctly setup and working by using Google’s Structured Data Testing Tool. The result pictured below is for another article that I posted here on the Rapid Web Services blog:
As you can see, this result shows a preview of how the article will appear in the search listings, and you can check that the data is being read by Google correctly.
Hopefully this information will help you to get everything setup for your Google Plus personal profile and Google Authorship – look out for my next article on creating your Company Google Plus Page.
