By Kirsty Gasston
6th August 2014
Posted in SEO, Social Media
Following on from my previous post, which explained how to set up a personal Google+ profile and your Google Authorship, I now move on to how to set up Google Plus Business Pages.
To get started with creating a Google+ company page, you need to log in to Google with the account which will own the page (other users can be invited to be managers of the page, but there can only be one owner).
Then select ‘Pages’ from the menu on the top left. If you have no other Pages set up within the Google account, you will see this page (although you may see a different page example or image/video here):
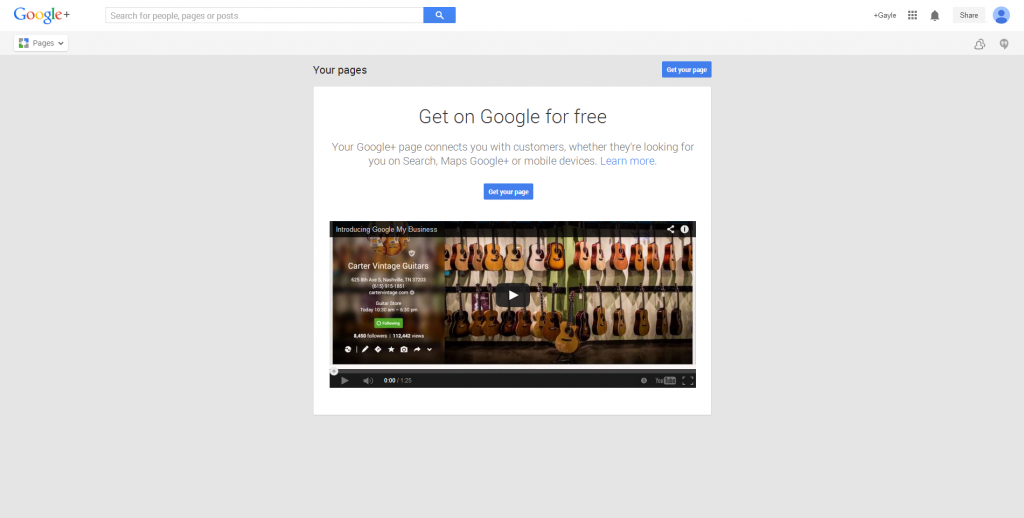
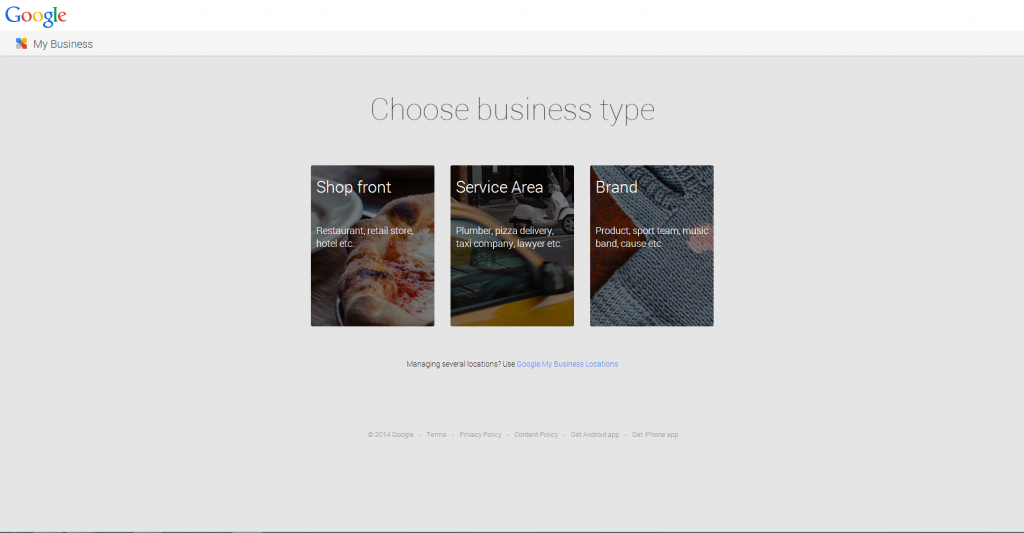
Click the ‘Get your page’ button, and you will be taken to this setup page (Alternatively, you can skip the page above and navigate directly to this step – just go to plus.google.com/pages/create):
Choose the most appropriate category to list your page in. If you are setting up a ‘Shop front’ or ‘Service area’, you will be asked to link your new page with your Google Maps/Local/Places listing. You will be taken to a page that looks like this:
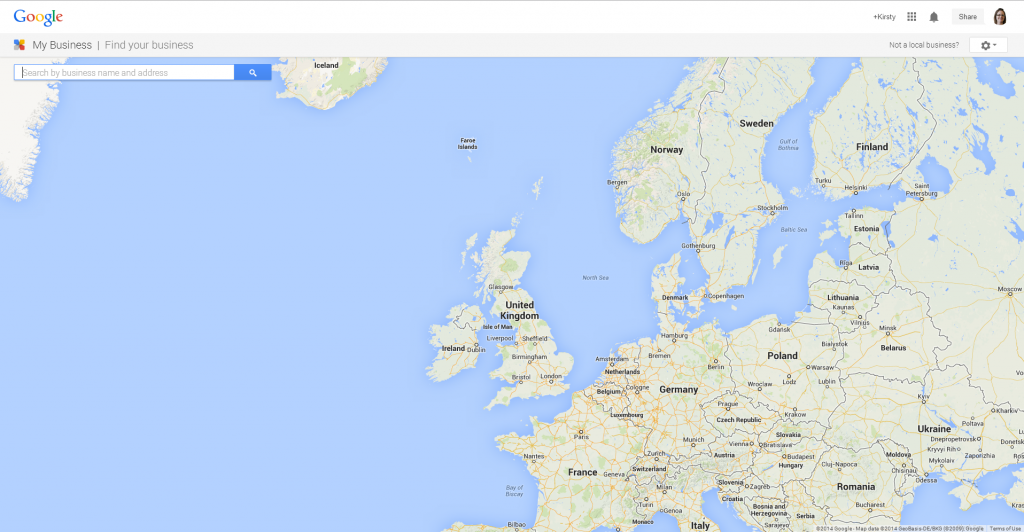
Type your company name in to the search bar, and Google will show you existing listings that it thinks may be your company. Even if you haven’t ever created a Google Places listing (i.e. before Google merged the systems), it is possible that one already exists as someone else may have set it up or Google may have created it automatically.
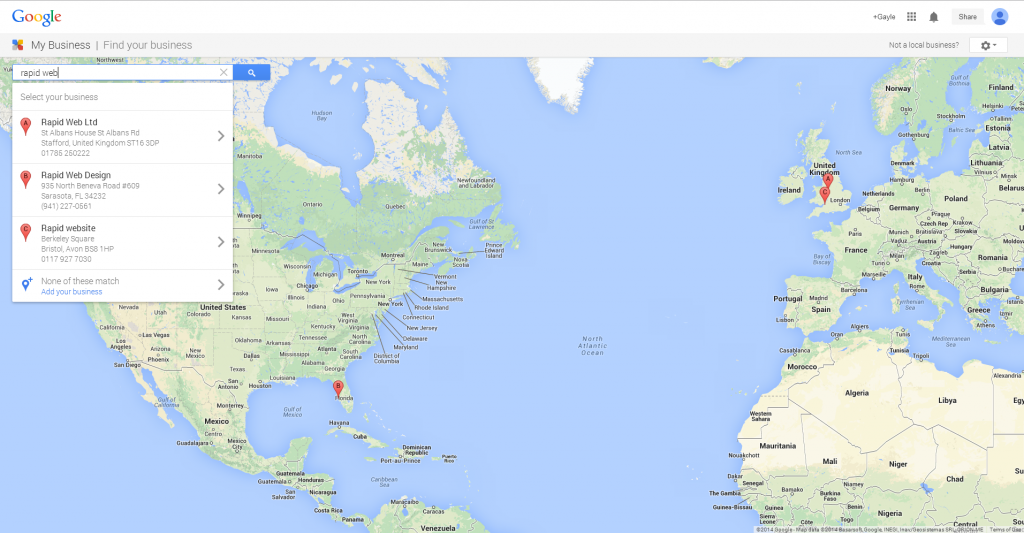
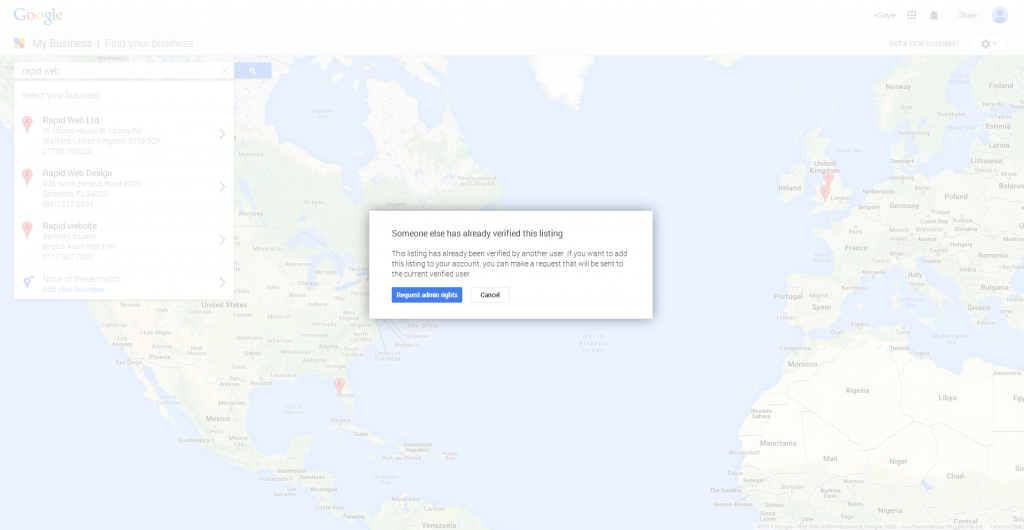
If a listing is already there, just go ahead and click it to move to the next stage. If someone else already has this as a verified listing, Google will let you know and, if you press the ‘Request admin rights’ button, will guide you through the process of claiming the listing.
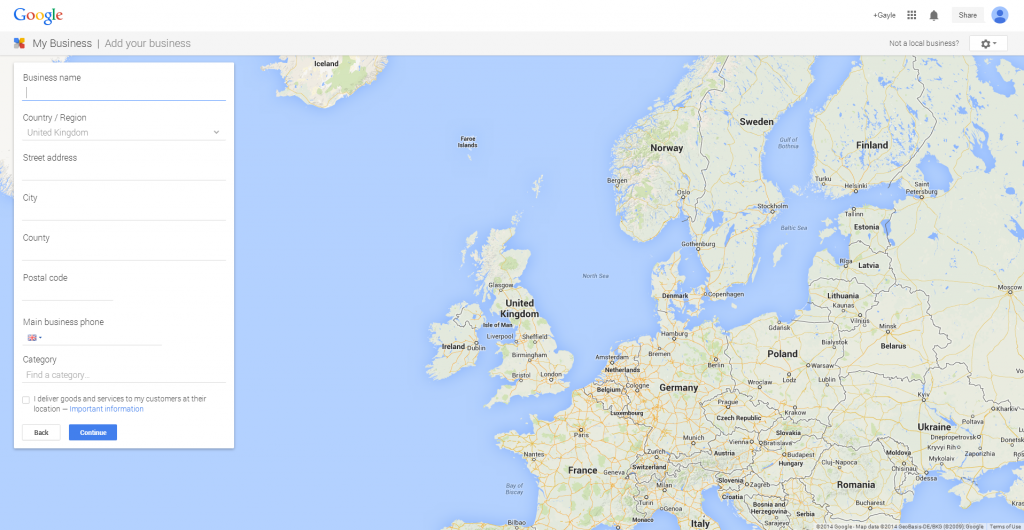
If your listing does not appear in the list, just choose the option at the bottom for ‘None of these match’. You will be taken to the below screen where you need to enter all of your address and phone number details, as well as your business category, which comes from a list of suggestions from Google (these start to appear automatically as you type).
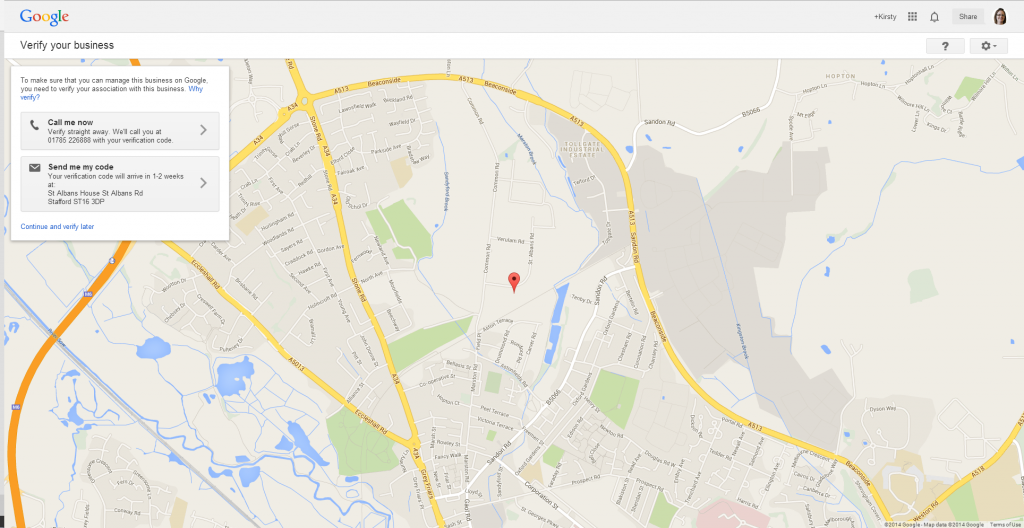
Google will then ask you to verify your new listing – you’ll be given two verification options: phone or post. If you choose phone, an automated system will call the business phone number listed against the Google listing and provide a PIN number to enter for verification. Similarly, if you choose the post method, a PIN number will be mailed to the business address.
Once verified, listings can be edited to include much more information such as images, opening hours, etc. The pin marker can also be edited to ensure that it is in the correct location.
One thing to be aware of is that it is not unusual for Google to merge the information that you provide with information from other sources across the web. This can sometimes cause issues, however, as the information that Google automatically merges may not be correct. In these instances, you will need to view the listing on Google Maps, and then use the ‘Suggest an edit’ option at the bottom – this provides you with a form to report the problem or error to Google. It can take several months for Google to review these reports, however, so unfortunately you may have incorrect information on your listing for a while.
If you have chosen the ‘Brand’ option at the first stage, you will not be asked to complete the Google Places/Google Local setup and will instead be taken this page:
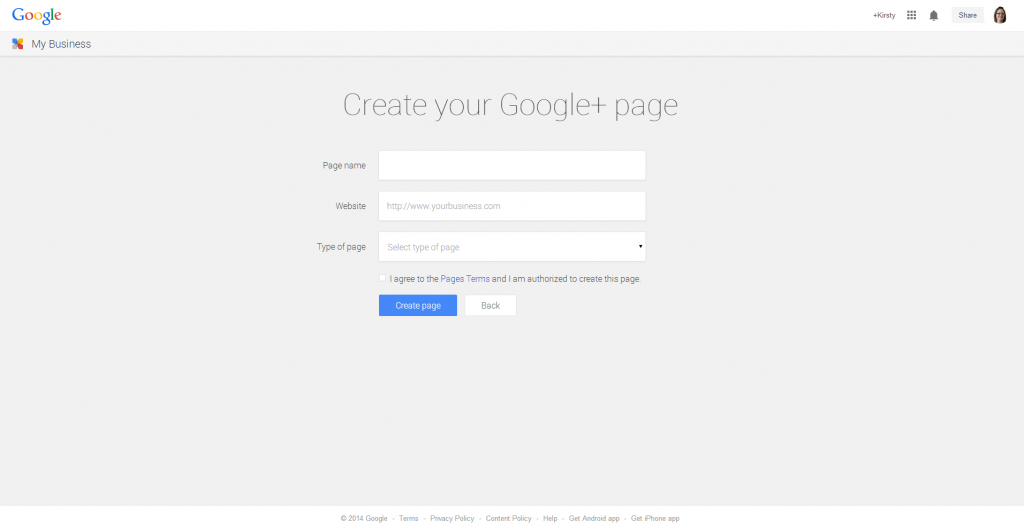
Here you simply need to setup the page name, add a link to the company website, and select the type of page from the dropdown – this is to indicate whether your page will be classed as product or brand, entertainment, community or other. Don’t forget to agree to the Pages Terms.
The rest of the setup then works in the same way as an individual profile page (check back to my post on setting up a personal Google+ profile).
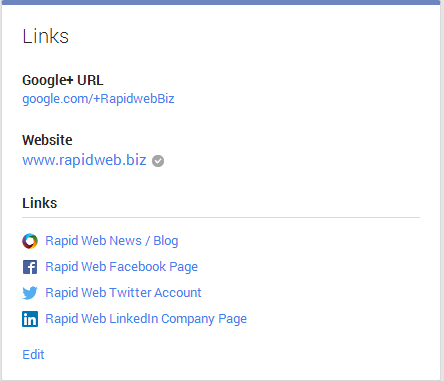
For company pages, however, it’s useful to include links to the company’s other social media accounts under the Links panel (this can, of course, be done for your personal profile too if you wish).
Also make sure that you add in an email address in the contact panel and verify this email address using the links that Google provides.
Company pages also have the opportunity to claim a ‘vanity url’ e.g. google.com/+RapidWebBiz – Google’s ‘rules’ regarding when this option becomes available change frequently, but you should find that as you start to use the page more, you should become eligible – Google will generally email you when this is the case.
In a similar way to the Authorship system, Google also has a Publisher system. This is to help Google to verify the link between your website and your Google+ company page– to implement this you simply need to include a link on your website to your Google+ page which includes rel=”publisher”
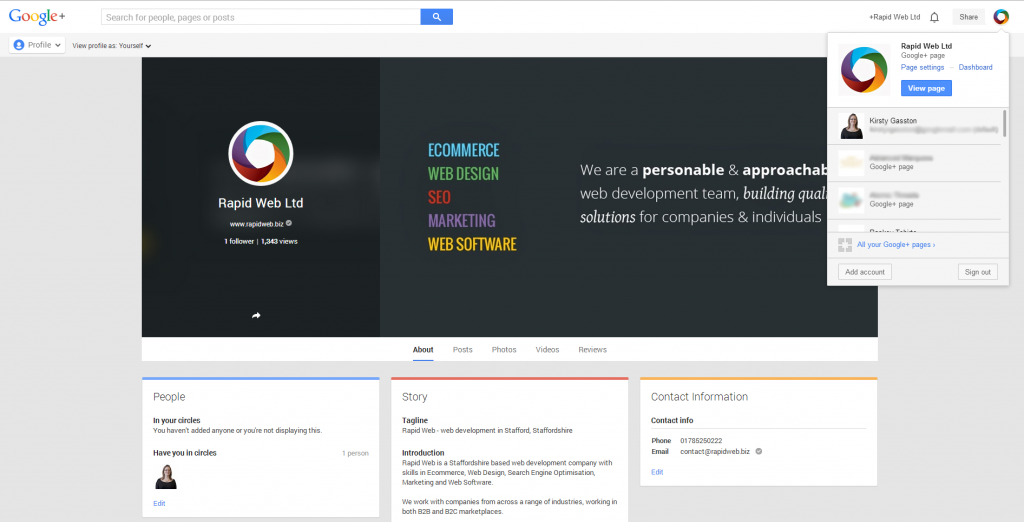
If you own or manage multiple company pages, you can easily switch between them (or your personal profile) by just clicking on the profile image in the top right:
