By Kirsty Gasston
24th August 2017
Posted in Web Dev, WordPress
Advanced Custom Fields is a particularly useful WordPress plugin which allows you to take full control of your WordPress edit screens & custom field data, making content editing much easier.
Installation
You can install the free version of the Advanced Custom Fields plugin in the same way as you would any other WordPress plugin – login to your WordPress administration and search/install the Advanced Custom Fields plugin from the plugins page.
For detailed instructions, read the official installation guide.
Getting Started
Creating a Field Group
Let’s begin with creating a field group. Field groups are used to organise fields and attach them to edit screens. Field groups also allow you to set which edit screens your advanced custom fields will appear on, via location rules.
To create a field group, click the ‘Custom Fields’ button in the admin navigation. Then click ‘Add New’
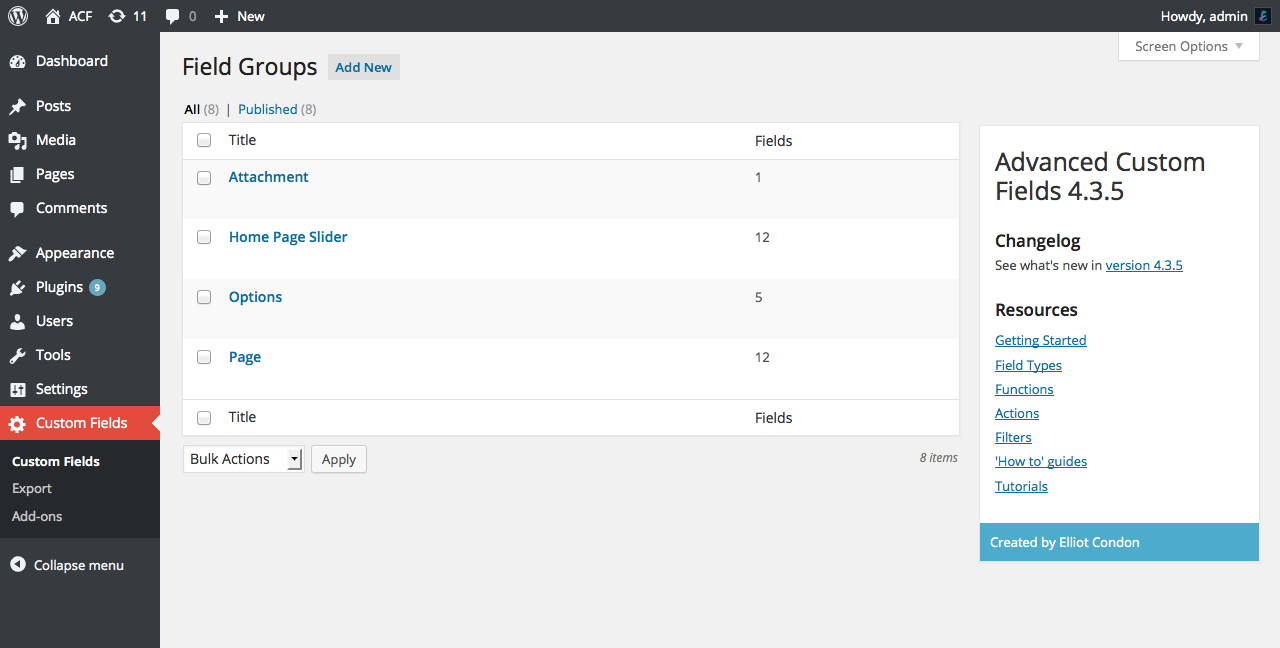
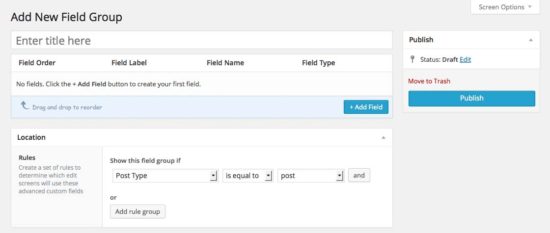
Enter a title for your new field group and choose where you want your new advanced custom fields to appear under the ‘Location’ section – this can be determined by multiple options including the Post Type, Page Type, individual pages or Page Templates, plus many more.
Adding Custom Fields
Now you can begin to create your custom fields, by clicking ‘Add Field’
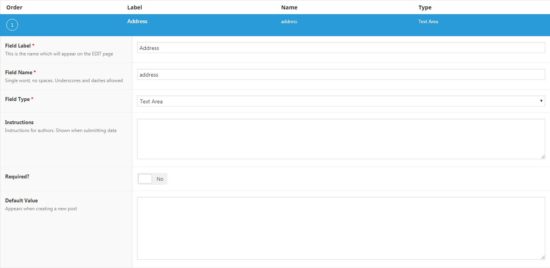
Enter a label and a name for your custom field and choose what field type you want it to be. In this example I have named the field Address and have chosen Text Area as the field type. Make a note of the field name as it will be needed later. Once you have created all of your required advanced custom fields hit ‘Save’
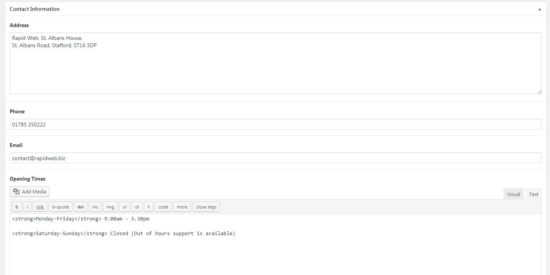
Now if you go to edit a page which meets your location setting as mentioned earlier, you will be able to input values for your newly created advanced custom fields, as seen above.
Outputting
The next step is to output your advanced custom fields onto your pages. Any field value can be returned as a PHP variable or output as HTML via the custom functions get_field() and the_field(), the get_field function will return the value of the field whereas the the_field function will display the value of the field.
For example, to output the address field from above you would need to insert the following code to your WordPress template file.
<?php if( get_field('address') ): ?>
    <h2><?php the_field('address'); ?></h2>
<?php endif; ?>
To output the field we have to use the ‘field name’ which we noted from above. In this case it was “Address”
Now if we visit the page where I inserted that code we will be able to see the content outputted.

This concludes the basic introduction for advanced custom fields.
For more information and documentation on advanced custom fields visit the official site https://www.advancedcustomfields.com/